Create a delivery
Overview
Create a new delivery for your customer needs.
- In the Sales menu, select delivery.
- Click “+Add Sale delivery”
- Enter the name of the customer you’re creating the delivery If you use multi-currency, you can enter your delivery in the currency of the customer.
- If the customer is not existing in the system you can directly add the customer right from the current screen by just writing the customer name and click enter, a form will be open for an additional customer you can save it and make a further transaction.
- Click Type to search product and select the product, if it is not existing then you can enter the product directly the same as the customer name. Type the description of the product, then add the Quantity.
- Click Save and Continue Edit to save the delivery as a draft, or click Save and Approve to approve or click Save and Pending to mark the delivery as pending and enter a new delivery or click Save and New to record a new delivery and save the previous one or click Save and Close to close the delivery and save the delivery in draft status.
- Once the delivery has been approved, click on the “In-Process” button to set your sale delivery status to “In-Process”.
- To Set your sale delivery status to Delivered, Once your sale delivery converted into a Sale invoice, click on the “Delivered” button on sale delivery that your sale delivery has been set to “Delivered”.
Once your status is marked as Delivered means your sale delivery has been delivered, furthermore, no sale delivery will be converted into a sale invoice.
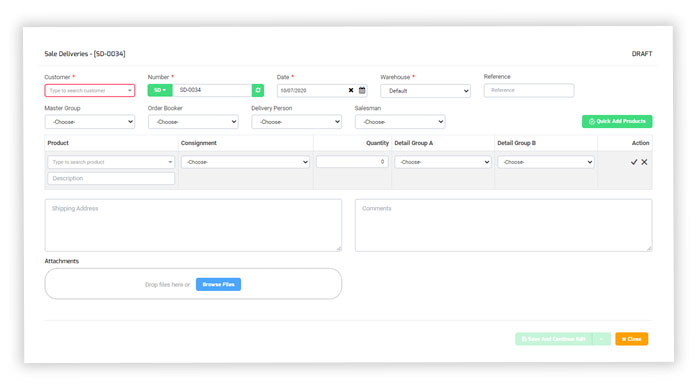
Header Fields:
- Customer: Enter the name of the customer you would like to sell your products to. If you enter a name that’s not already a contact, Splendid Account adds it to your Customer list.
- Date: This is set as default to the current date. You can change this also.
- Number: Use Splendid Accounts default numbering sequence or you can add your number sequence by clicking on number code and then a “+ “sign
- Reference: Choose a reference to suit your company. Later, you may want to search for your quote using your chosen reference.
- Master Group: This field appears only if you have enabled Groups. Groups let you customize the quote in many ways.
- Order Booker: This field appears only if you have enabled. Let your customer know which order booker will go and collect the order. You can add multiple order bookers under the Sales Person menu.
- Sales Man: This field appears only if you have enabled. This will display a list of all the salesmen you have entered into the system.
- Delivery Person: This field appears only if you have enabled. Select the delivery person of your choice for a particular customer, also you can choose based on areas.
- Warehouse: Select the warehouse in which the inventory will be managed. The default warehouse will be displayed in the delivery form if you set the warehouse as default in the warehouse section. If there is only one warehouse, no dropdown will be available as all the inventory will be managed in that warehouse.
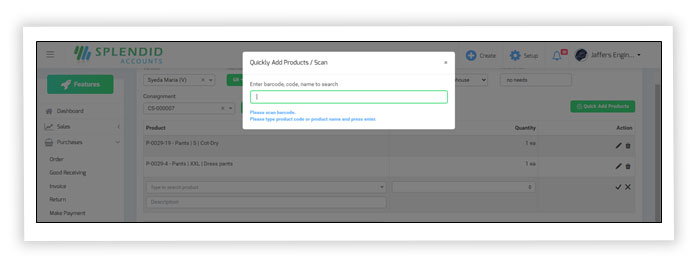
- Add Quick/Scan Product: You can also Scan your multiple products directly from Barcode scanner or enter a product name or Product number through Add Quick product box.
Line Item Fields
- Product: Select products if you have inventory products set up for your organization. Inventory products speed up data entry by automatically filling in the product field with information you’ve saved against your inventory products.
If you enter a product that’s not already in inventory, Splendid Account adds it to your inventory. - Product Description: Enter text as you’d like to describe the products, you’re sailing. You can include description lines in your product’s short description that will automatically display at line item.
- Quantity: Enter the quantity number of products you want to sell.
- Detail Group A: This field appears only if you have enabled Groups. Groups let you customize the quote in many ways.
- Detail Group B: This field appears only if you have enabled Groups. Groups let you customize the quote in many ways.
- Consignment: Add a consignment number to record from against which consignment has been received. The consignment will display if you have enabled tracking the consignment from company settings.
Description and narration at the advance filter
Two new filters have been added at all screens were available for the product description and narration of the document in the advance filters option.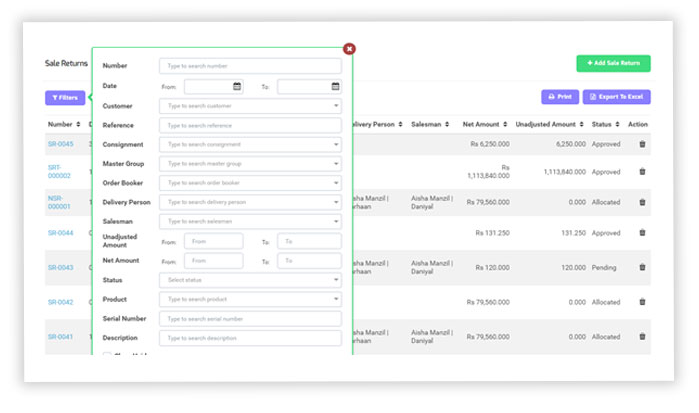
Product Scanning on Sale Delivery
You can verify/scan your delivered product on sale delivery line by line, at once or one by one. Use the Verify button against each row to verify completely at once. And scan the product by the “Scan product” button to partially verified the product.
- Grey circle button – no verification
- Orange circle button – partially verified
- Green circle button – full verified
Once the document has been verified, you can set the status as verified also.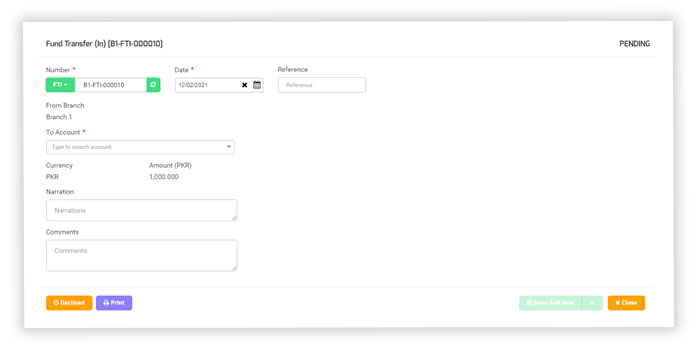
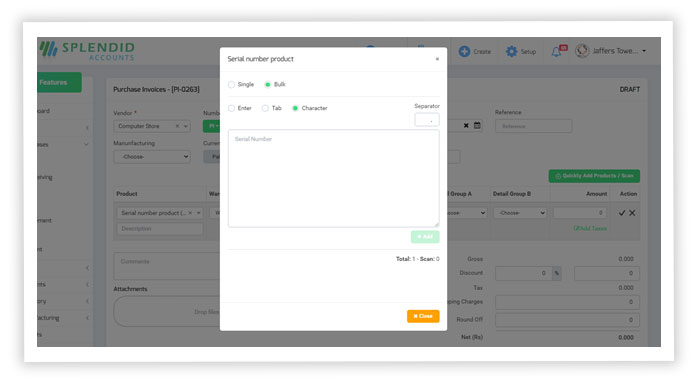
Bulk Serial Number Input
Now you can add the series of product serial numbers in Bulk quantity at once in different ways.
- Enter – enter all the serial number with enter key
- Tab – Enter all the numbers by using the tab key of the keyboard
- Character – You can use “,”, “;”, “< space key >”
Multiple discounts at the line item
The system is now allowing to apply multiple discounts on a single line item by enabling the feature from company settings.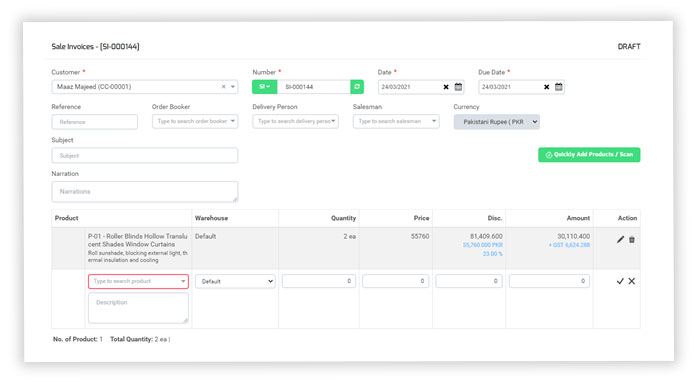
Font Size selection at Custom Templates
A new feature has been introduced at custom templates so that user can select a font size for all custom templates.Border Strip option in custom templates
A new feature has been introduced at custom templates to display alternate shades in the detail section of the document.Editable label at custom templates
Splendid Accounts enhanced its custom templates specific labels (Document information, detail section, footer section) to be editable, you can rename the labels according to your business terminologies.Copy comments for Sale Delivery
Splendid accounts is now offering an option under company settings to copy comments from sale quotation to the sale order, sale order to sale invoice, and onwards.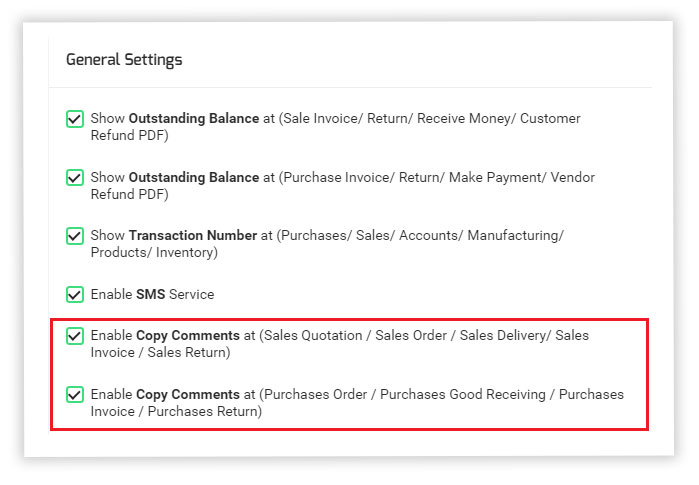
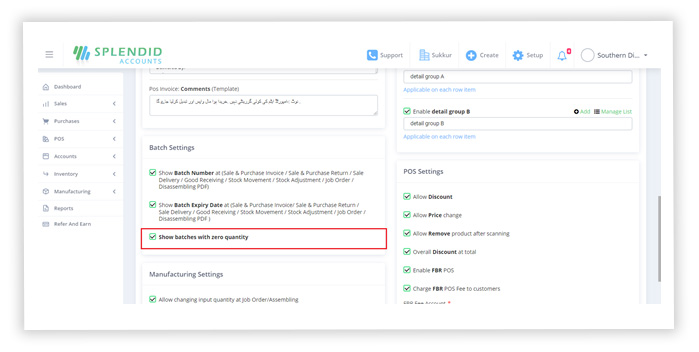
Option to display 0 batch products in company settings
There is an option in company settings to display 0 batch product or not, in making transactions. If this checkbox is checked then system will display batches with 0 inventories and if this checkbox in unchecked then only those batches will be displayed which are in stock.